As we reach the halfway point in this “Forever Home” Transitions series, I'm going to walk you through our 3 kitchen renovations that took place over a period of 20 years. Each renovation reflected our needs and budget at the time.
As I’ve mentioned in my past two REimagining Your Spaces articles, Ditch the Dining Room and Closet Contortions, we put a significant addition on our lovely little ranch. Our main goal was to create an eat-in portion of the kitchen that I kept picturing every time I looked out of the kitchen window. My mind’s eye saw a table filled with kiddos after a soccer game or gathering for sleepover breakfast. We were 5 years vested in the house at this point, with 2 small children.
Of course, we talked about moving into a bigger place and even toured other homes. Nevertheless, even back in 1998, we saw that it was more economical to stay in the house we loved for its bones, location, and large yard. Sort of a precursor approach to the Love It or List It show… lol.
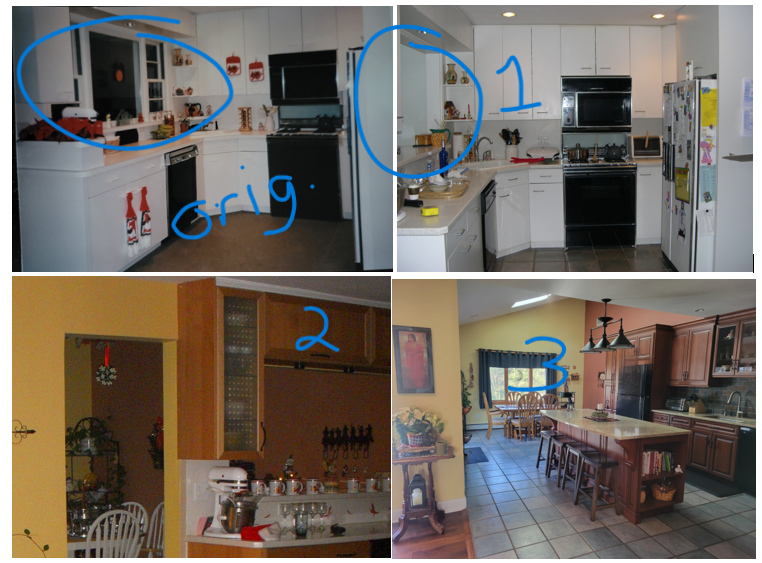
ORIGINAL KITCHEN (excuse the pre-digital camera quality here):
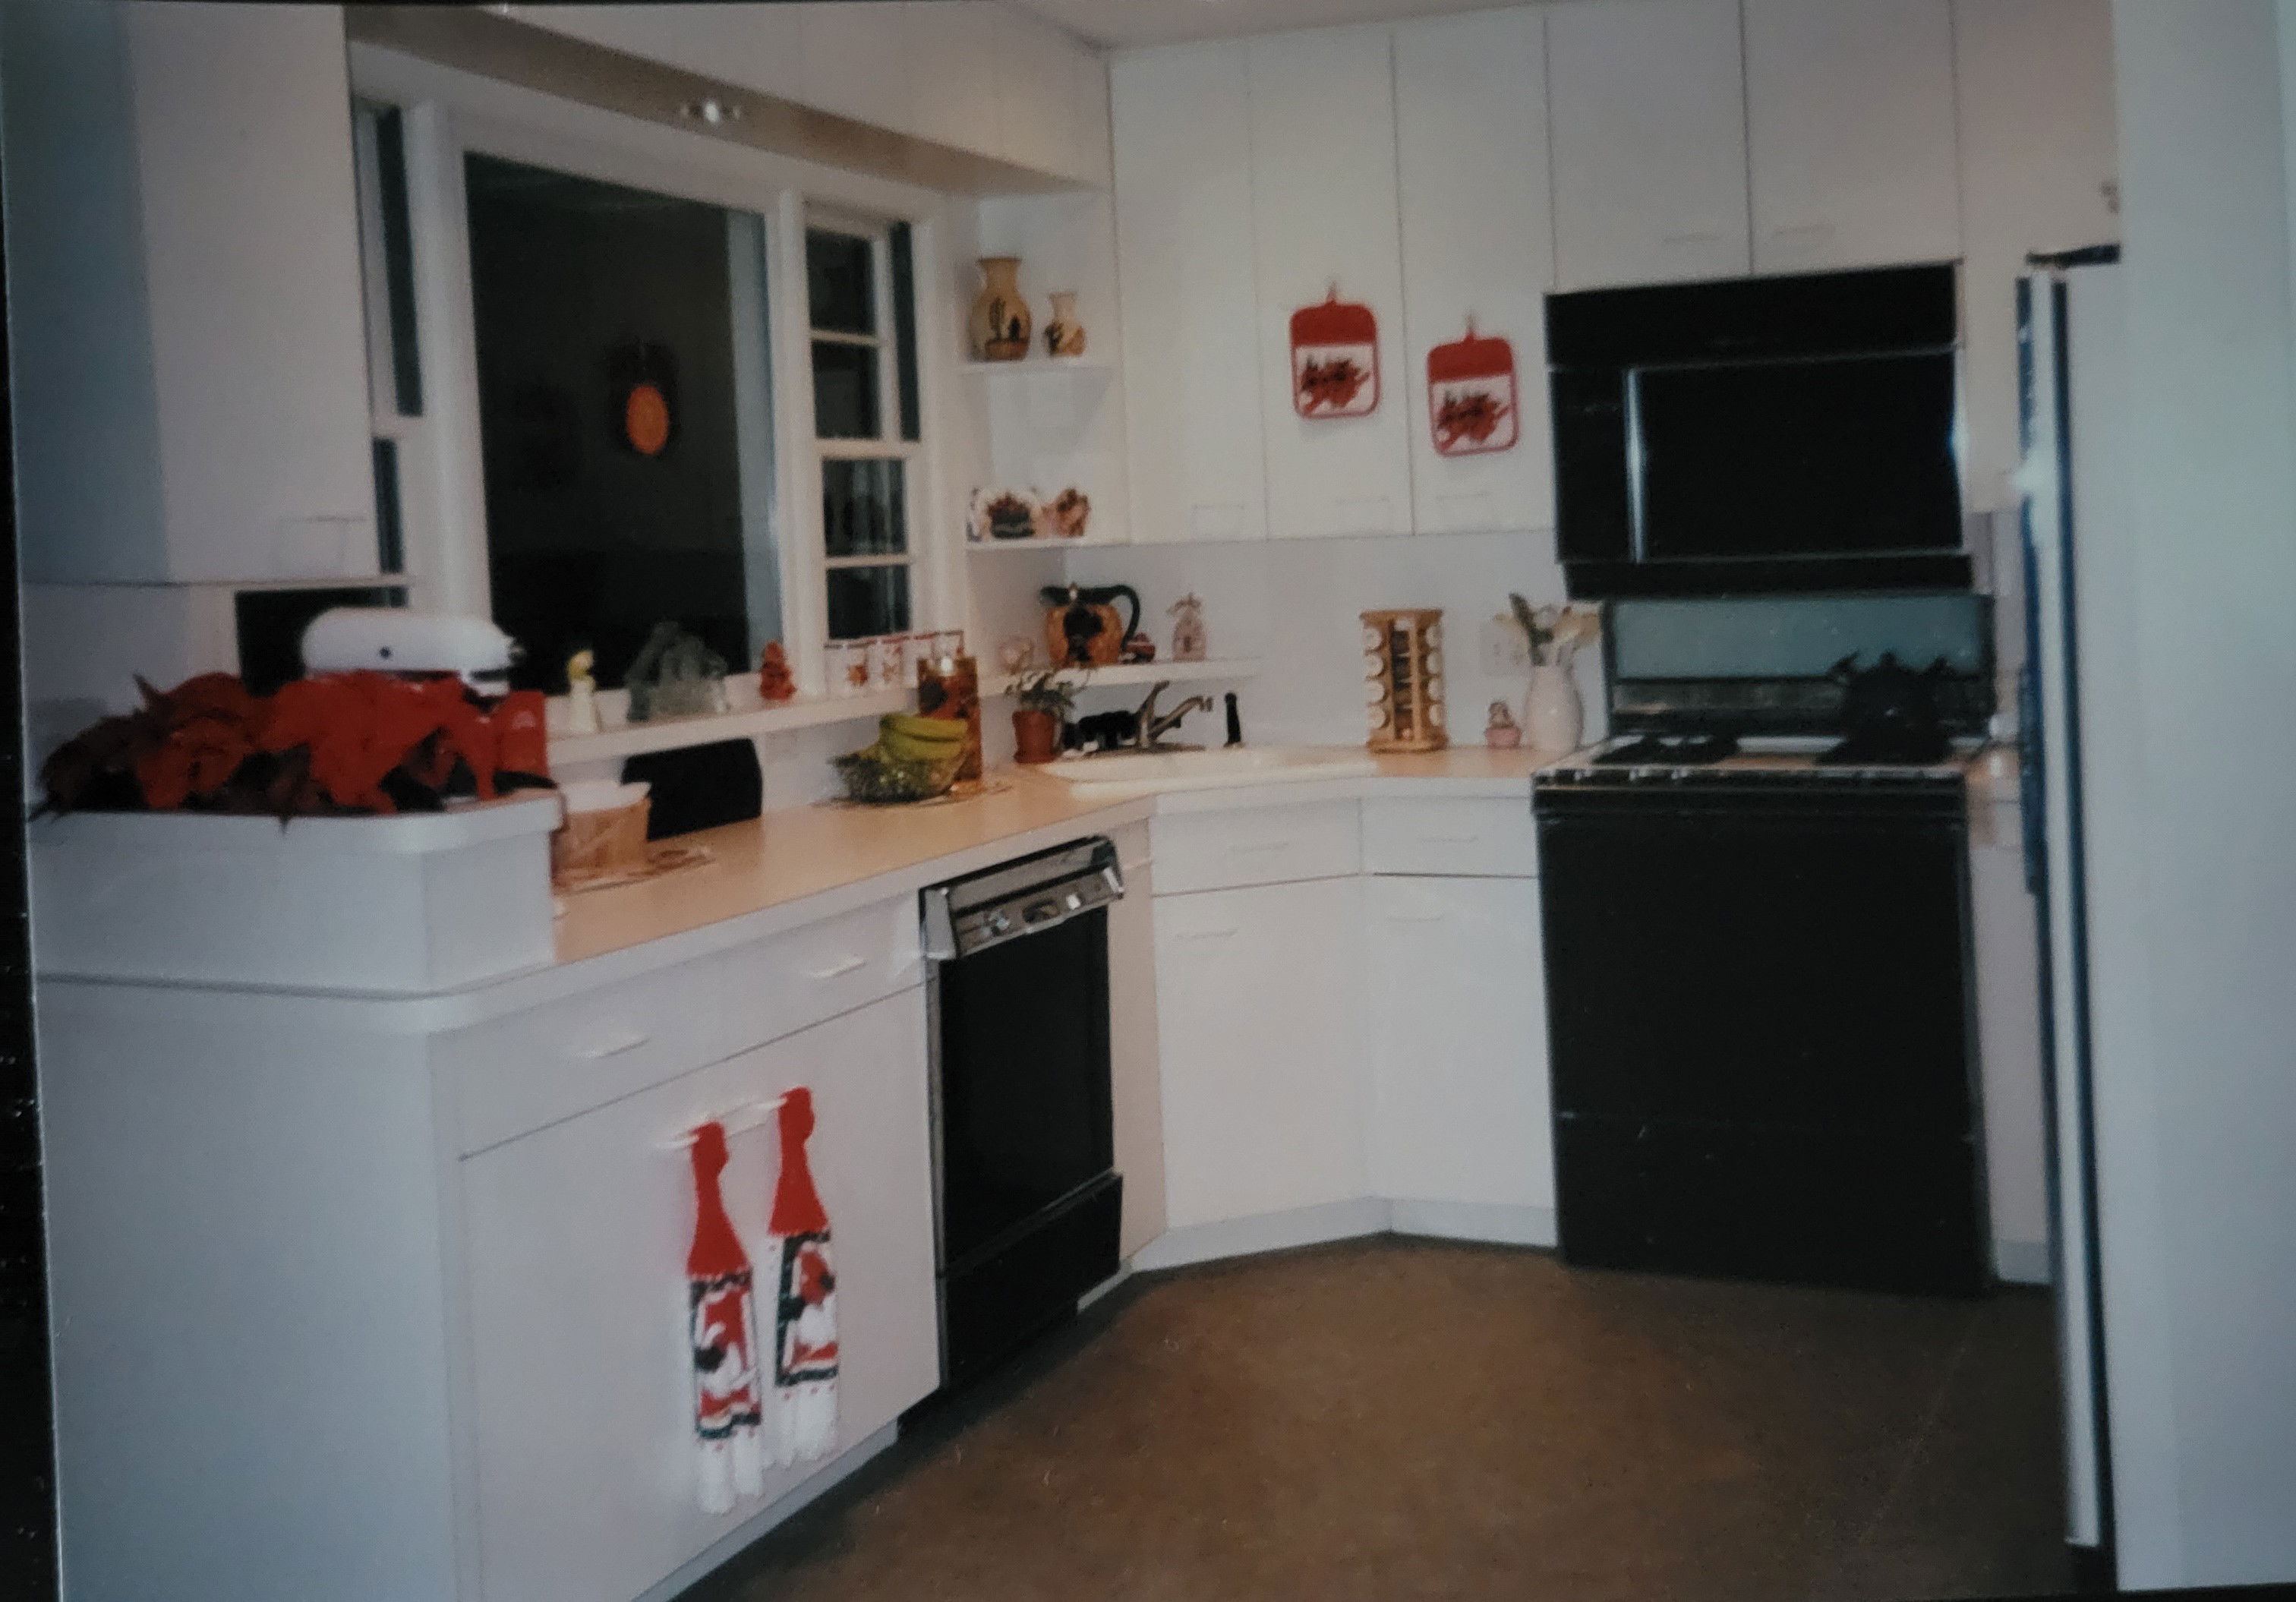
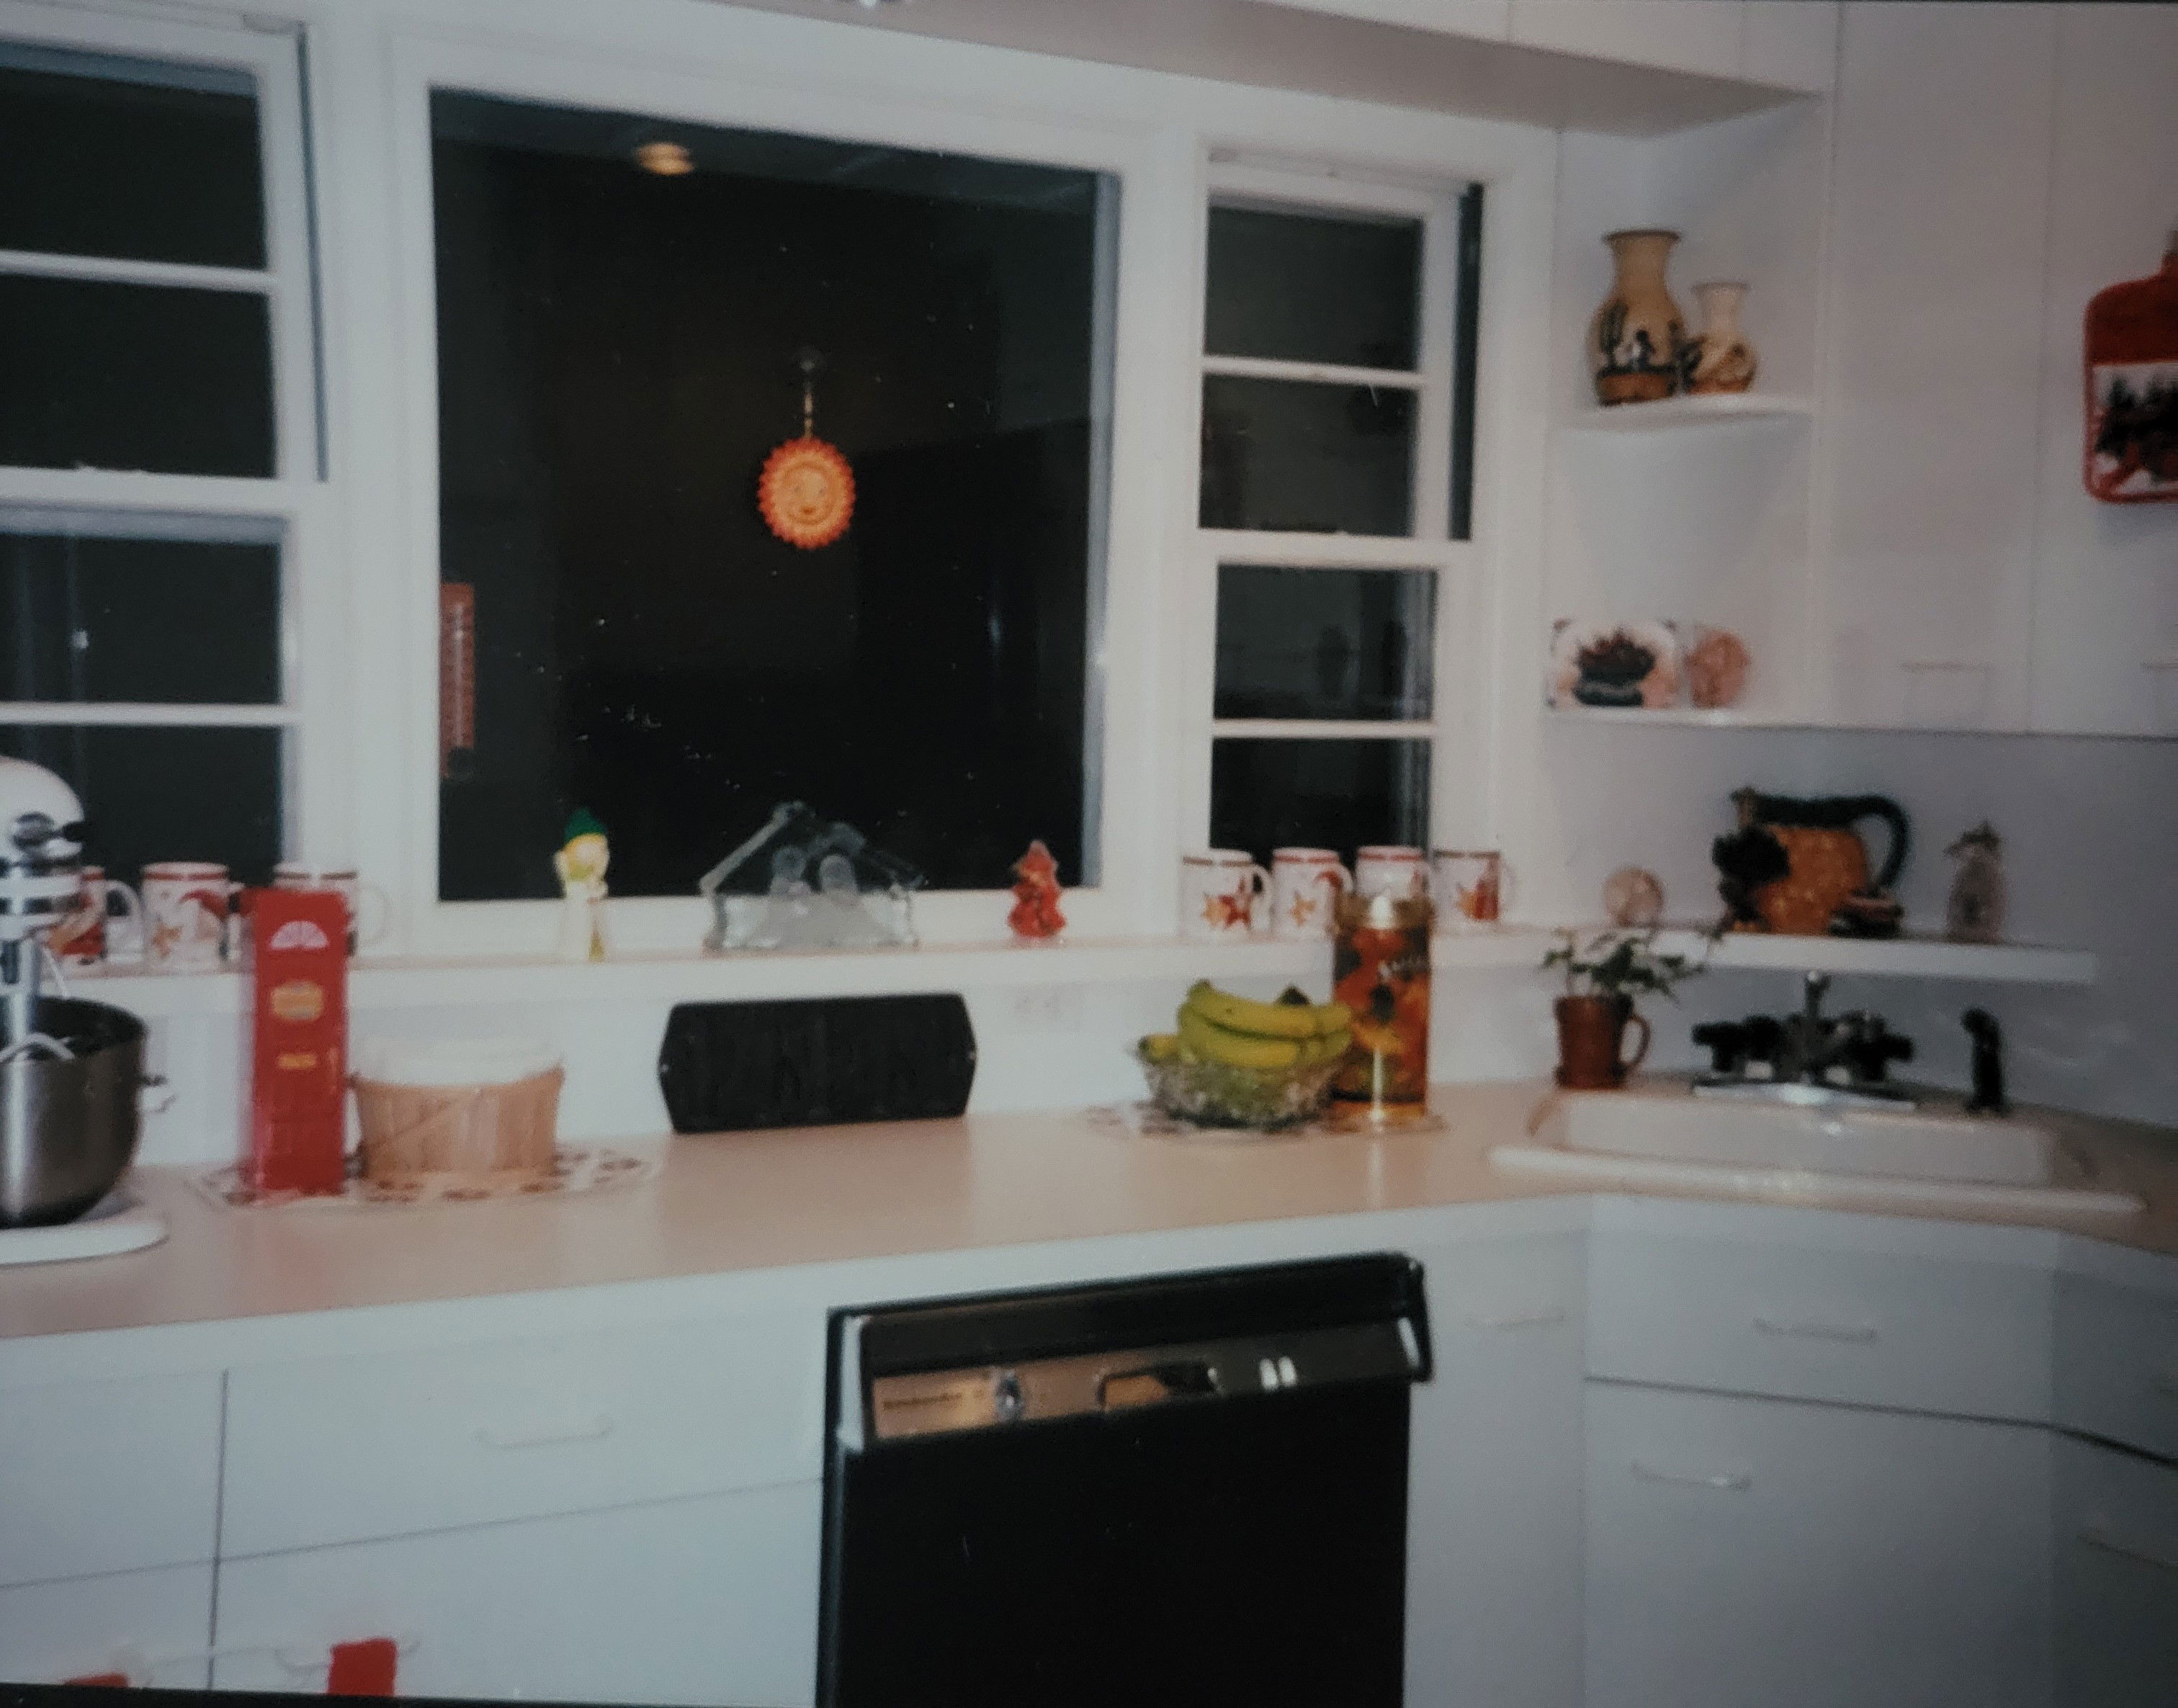
Radical Idea #1: Bite the bullet and invest in our home. We could extend the majority of the back of the house with an addition. Since the kitchen and space behind it was on the raised part of the ranch, we would have dig.
Result: We ended up with not only the eat-in space, but new tile throughout the entire kitchen out to front door, a new primary bedroom and the equivalent total space in the now extended basement.
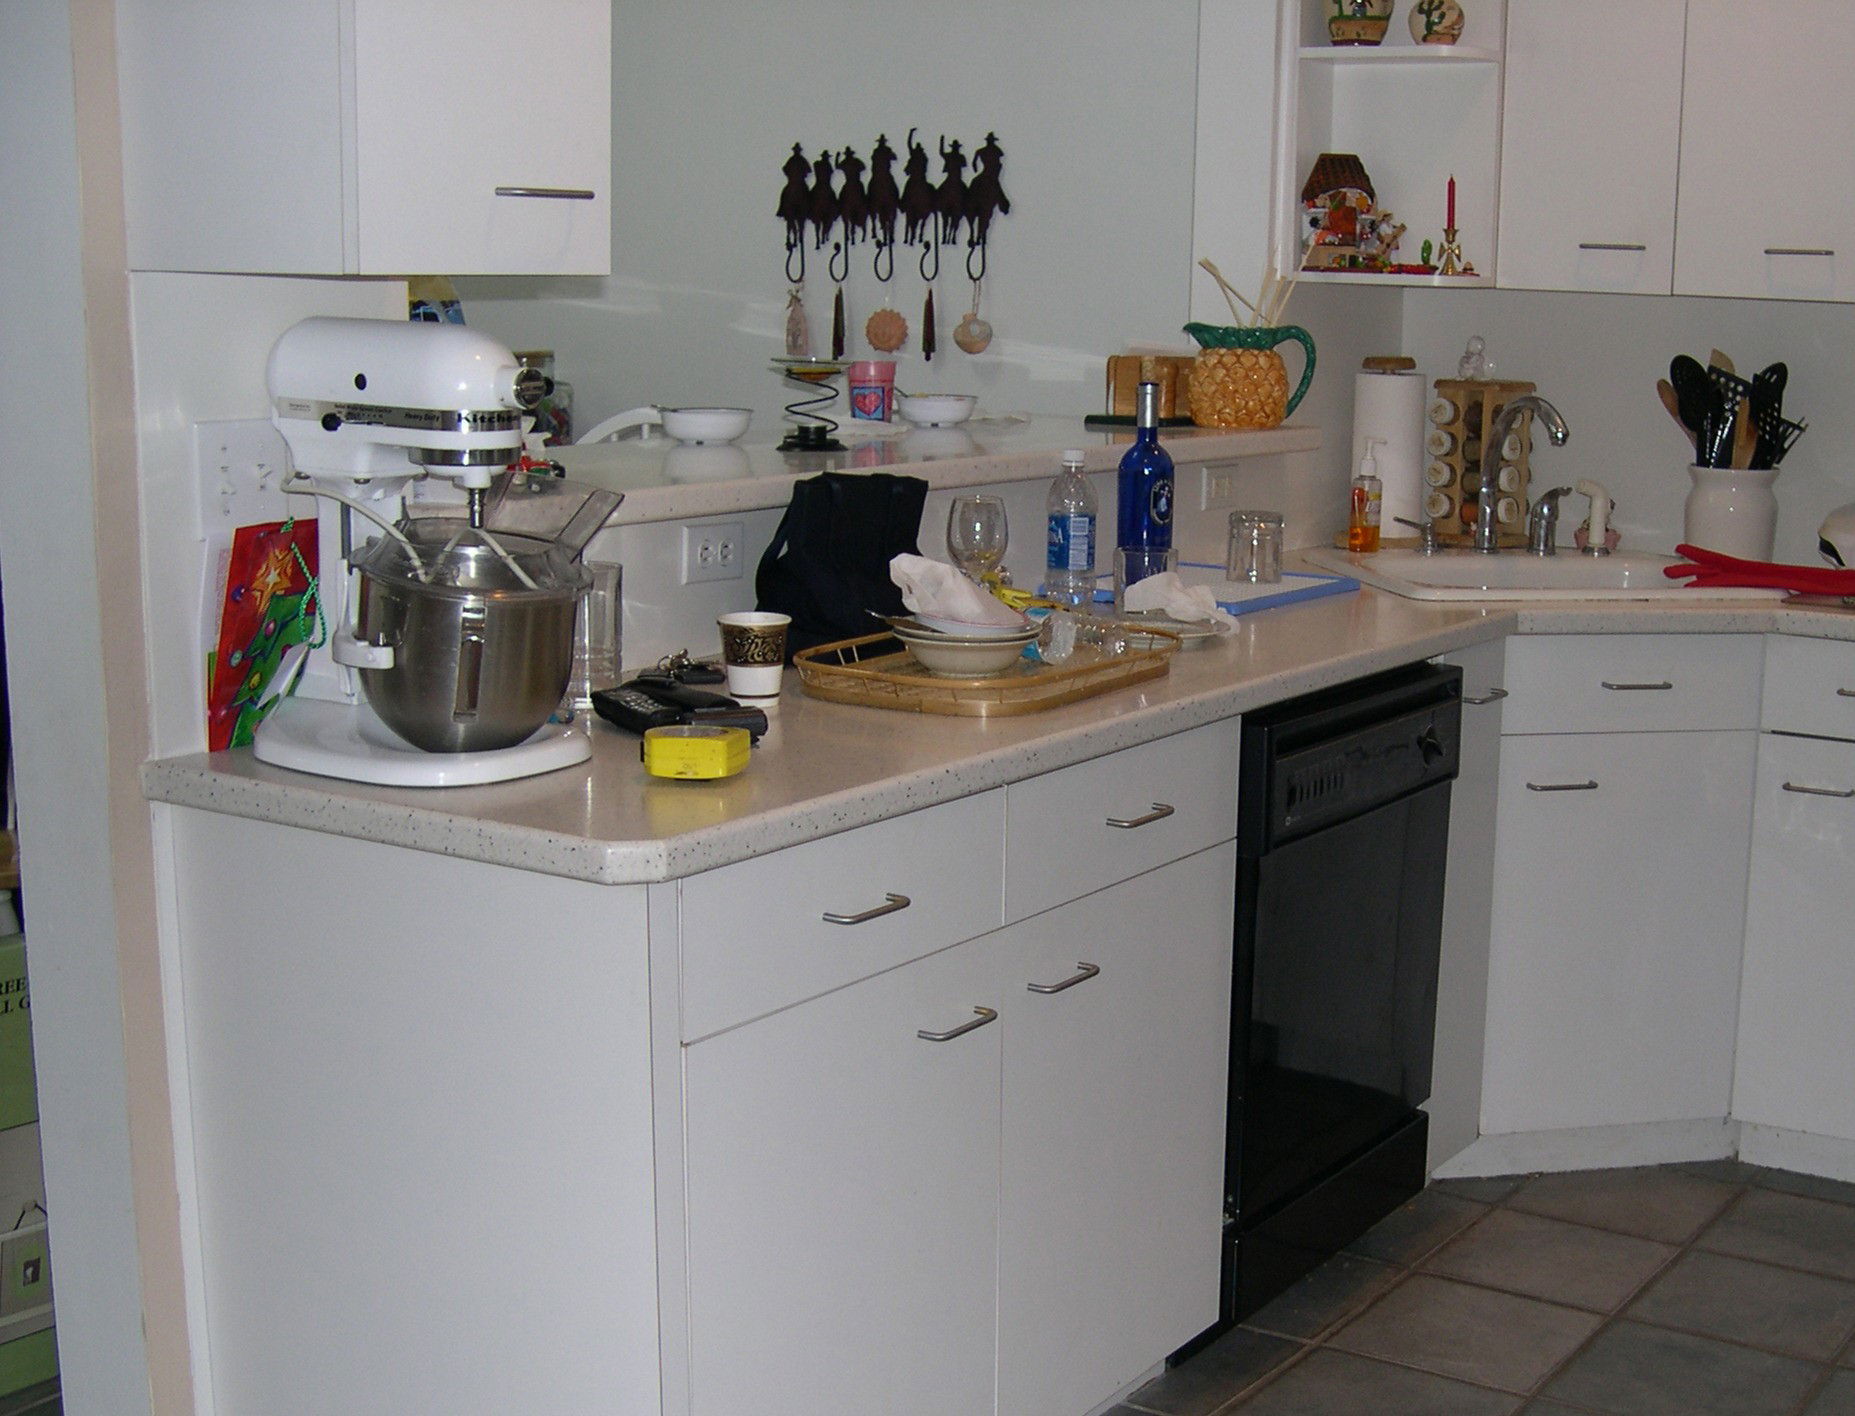
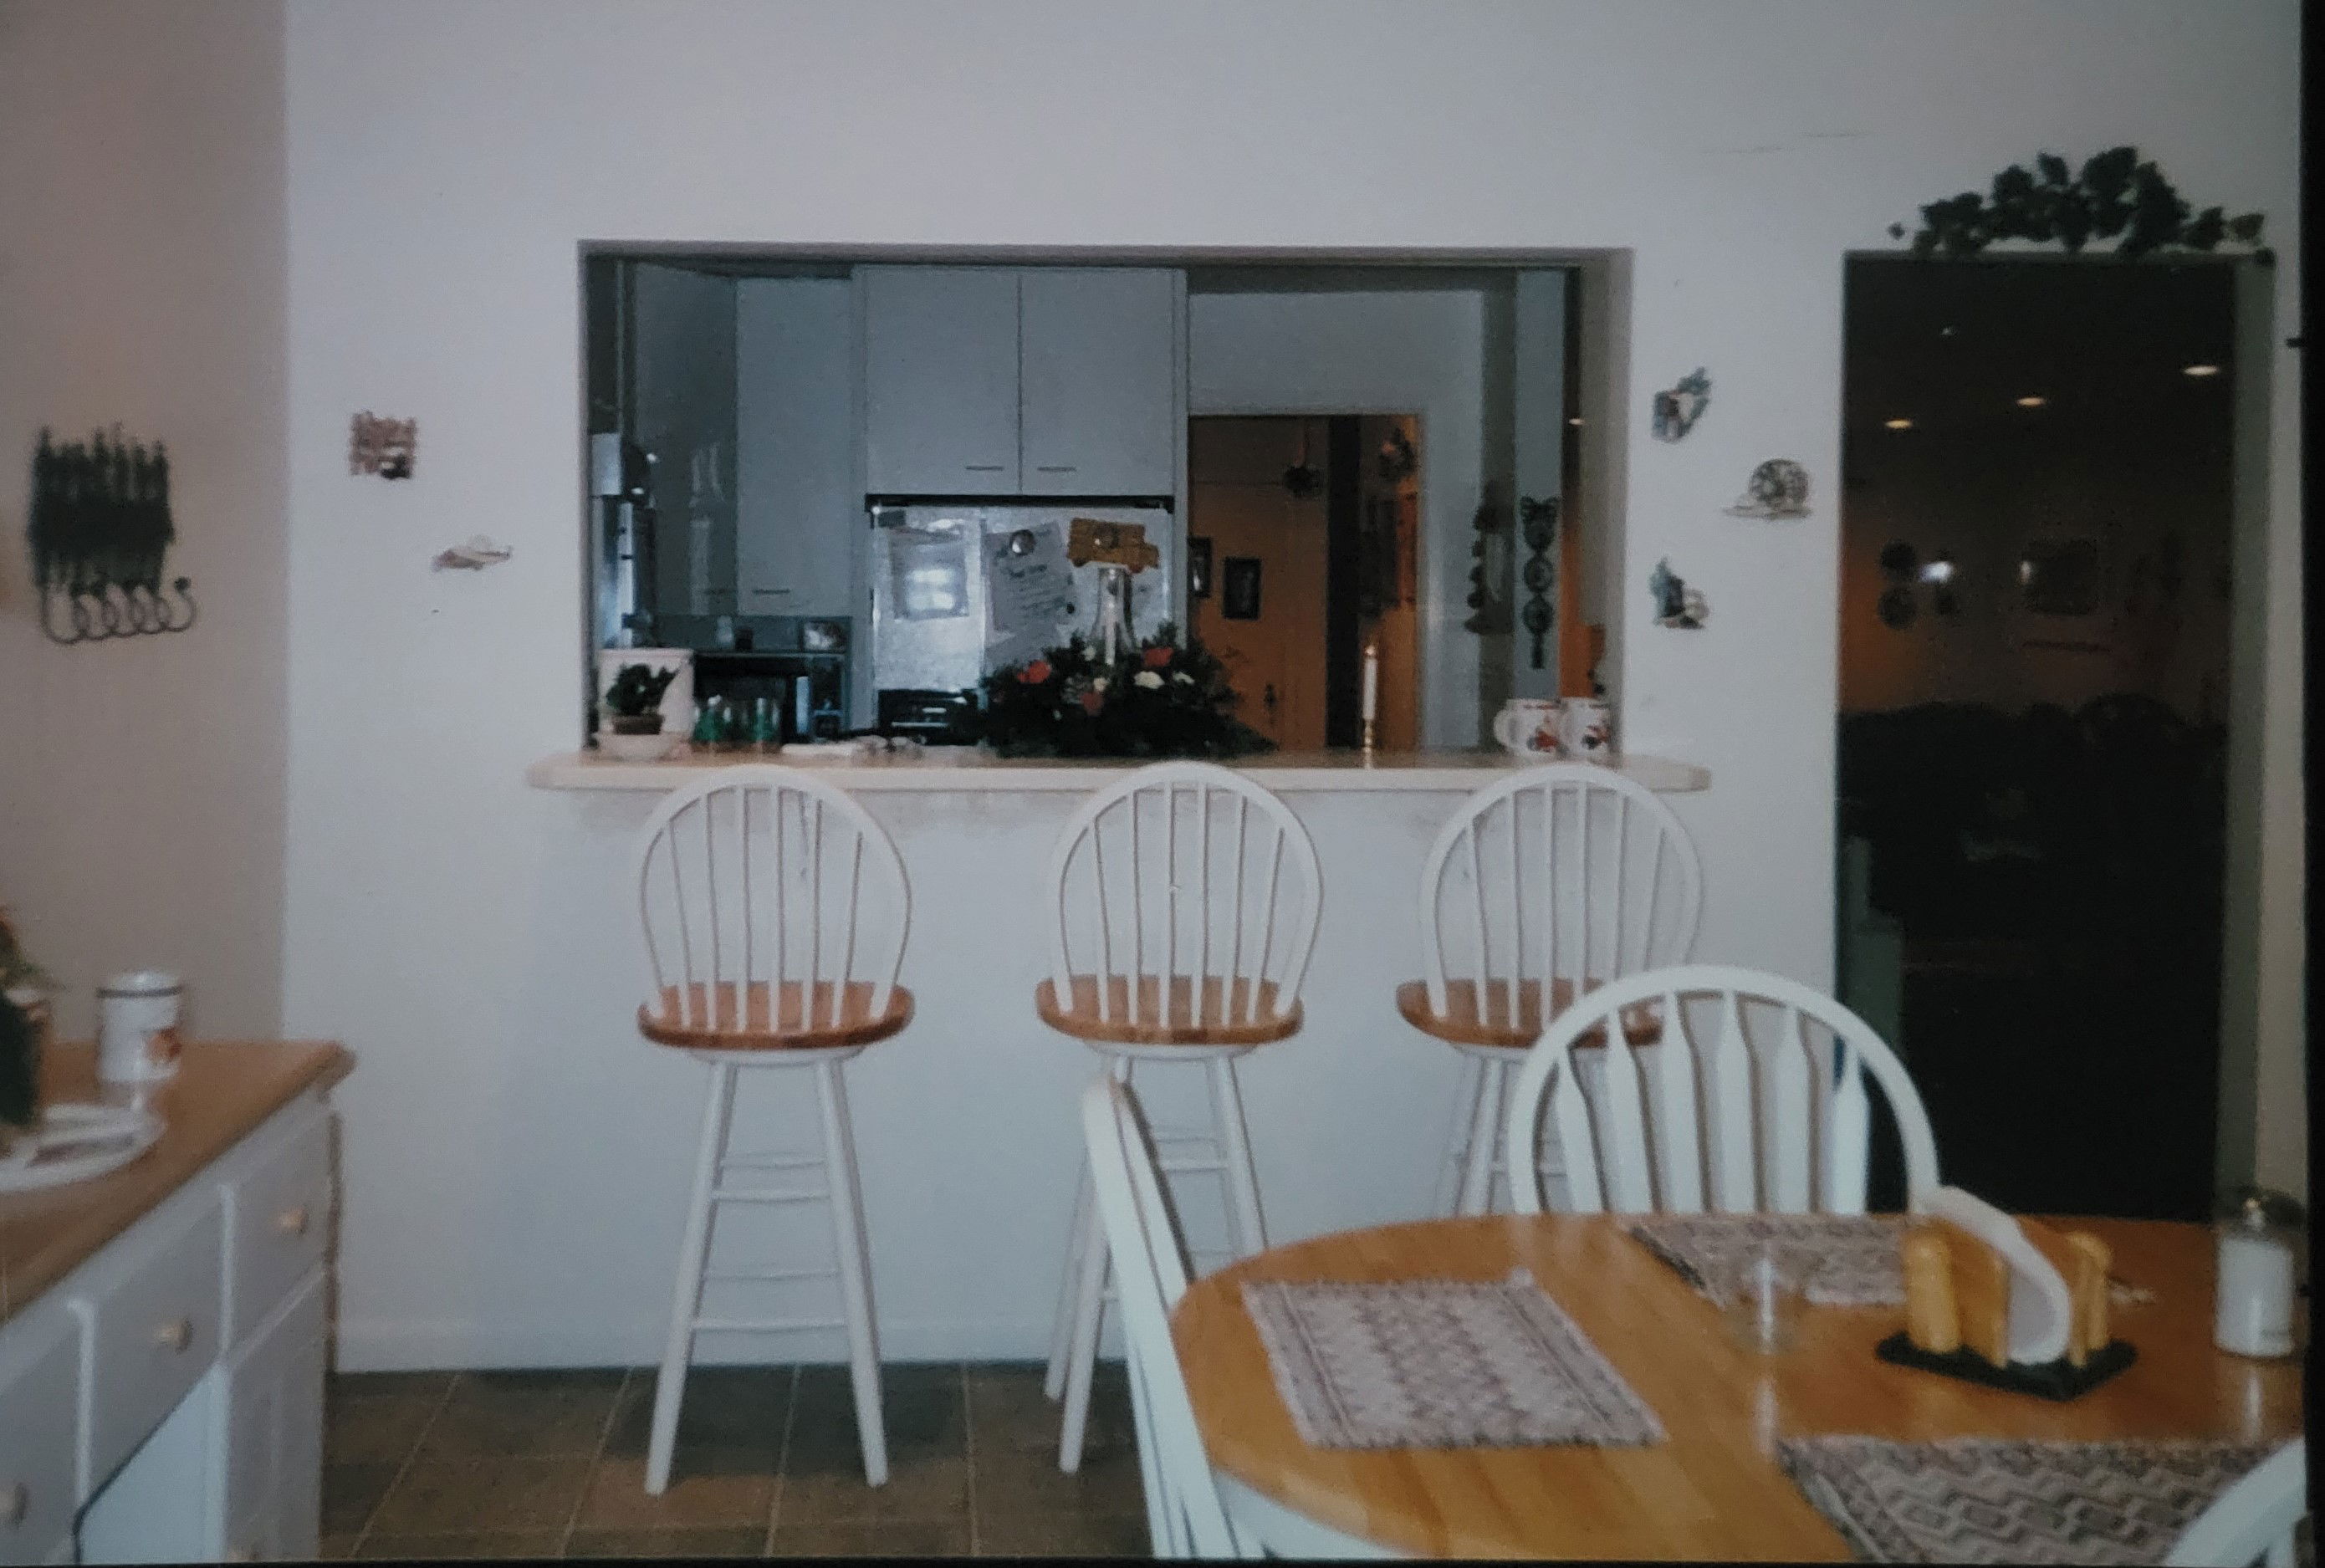
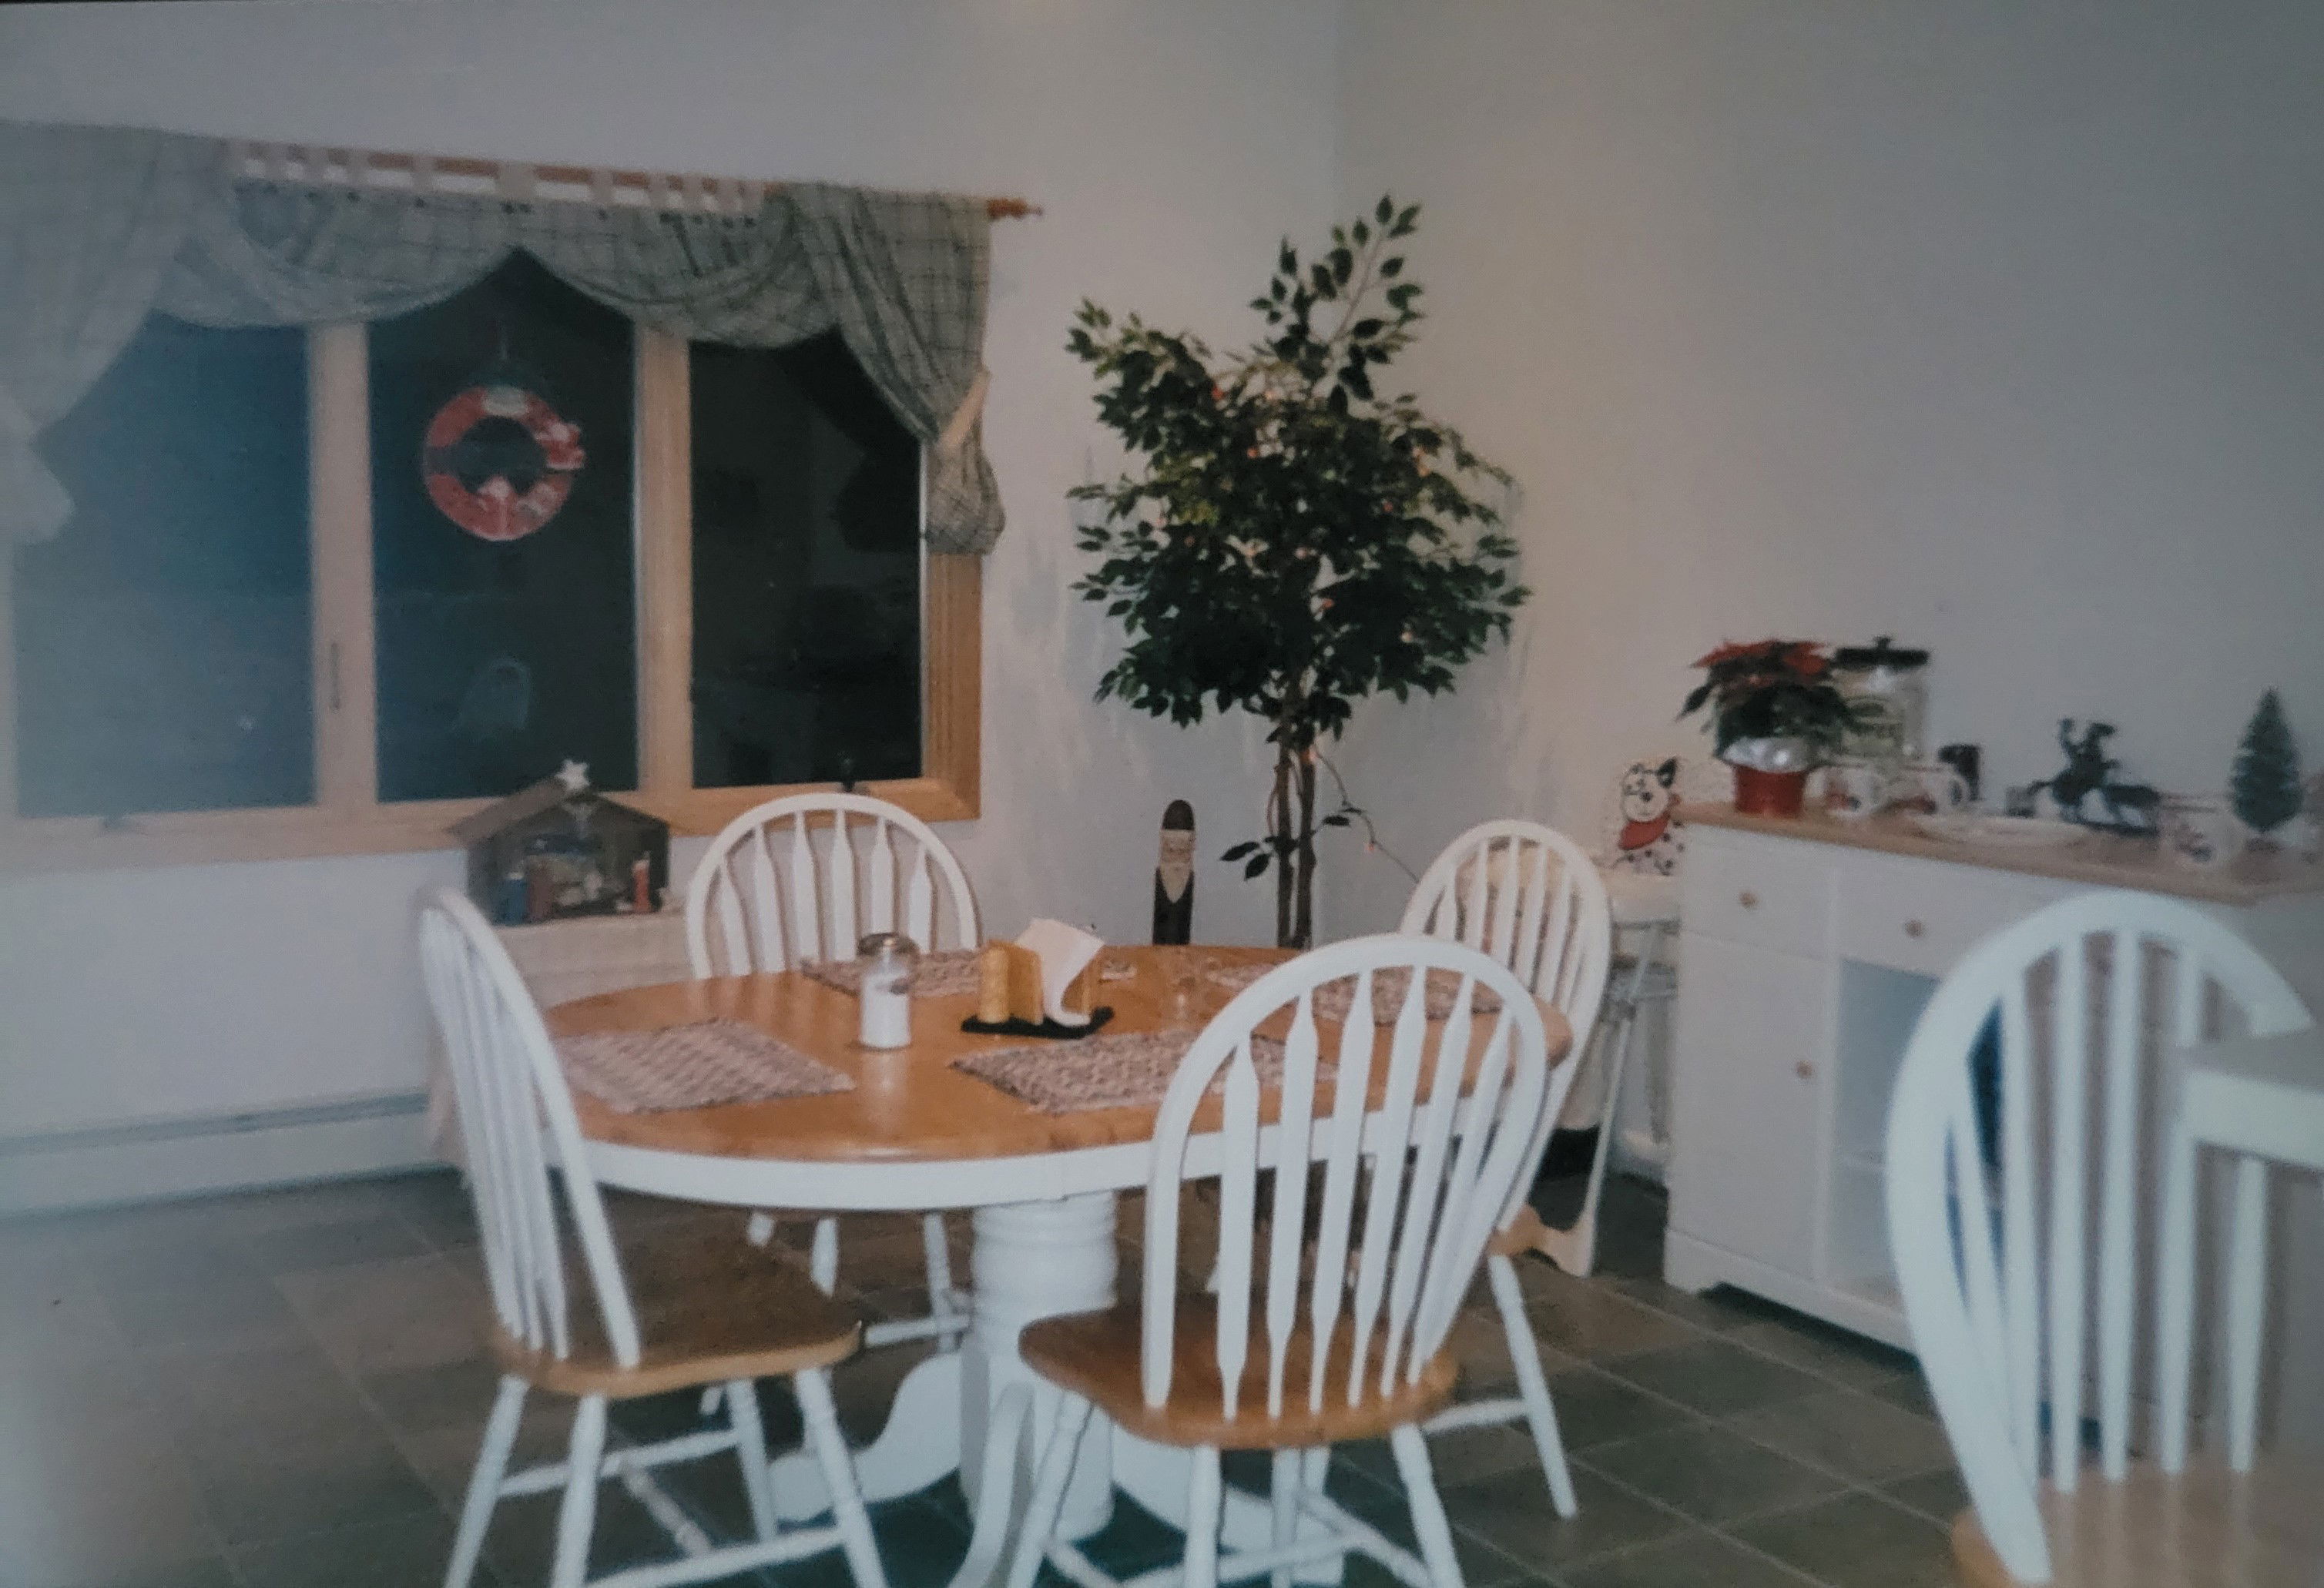
Focusing on the kitchen, we got exactly what we asked for. The space was wonderful and put to good use. Of course, with a project this large, we had to forego some other updates… so the white Formica working kitchen stayed as-is, though we did replace the countertops with black flecked white Corian, since we needed an extra countertop for bar style seating on other side of the original window (we kept the Formica backsplash, though). A simple table, sideboard and matching chairs and stools were ordered from JCPenney… we assembled them ourselves.
ADDITION FOR EAT-IN KITCHEN SPACE (yes, still no way to edit these...)
Six years later, 2004, we really were over all the white and the Formica itself, but still couldn’t afford a full kitchen renovation. However, we at least had some savings to improve the cosmetics and replace the dying oven and fridge.
Radical Idea #2: Replace the severely outdated cupboards with decent, but low cost, cabinets and finally replace the original appliances.
Result: An update of the working kitchen space that created a visually better flow to the dining and living room areas, a freezer that froze, and cookies that didn’t burn in the new oven!
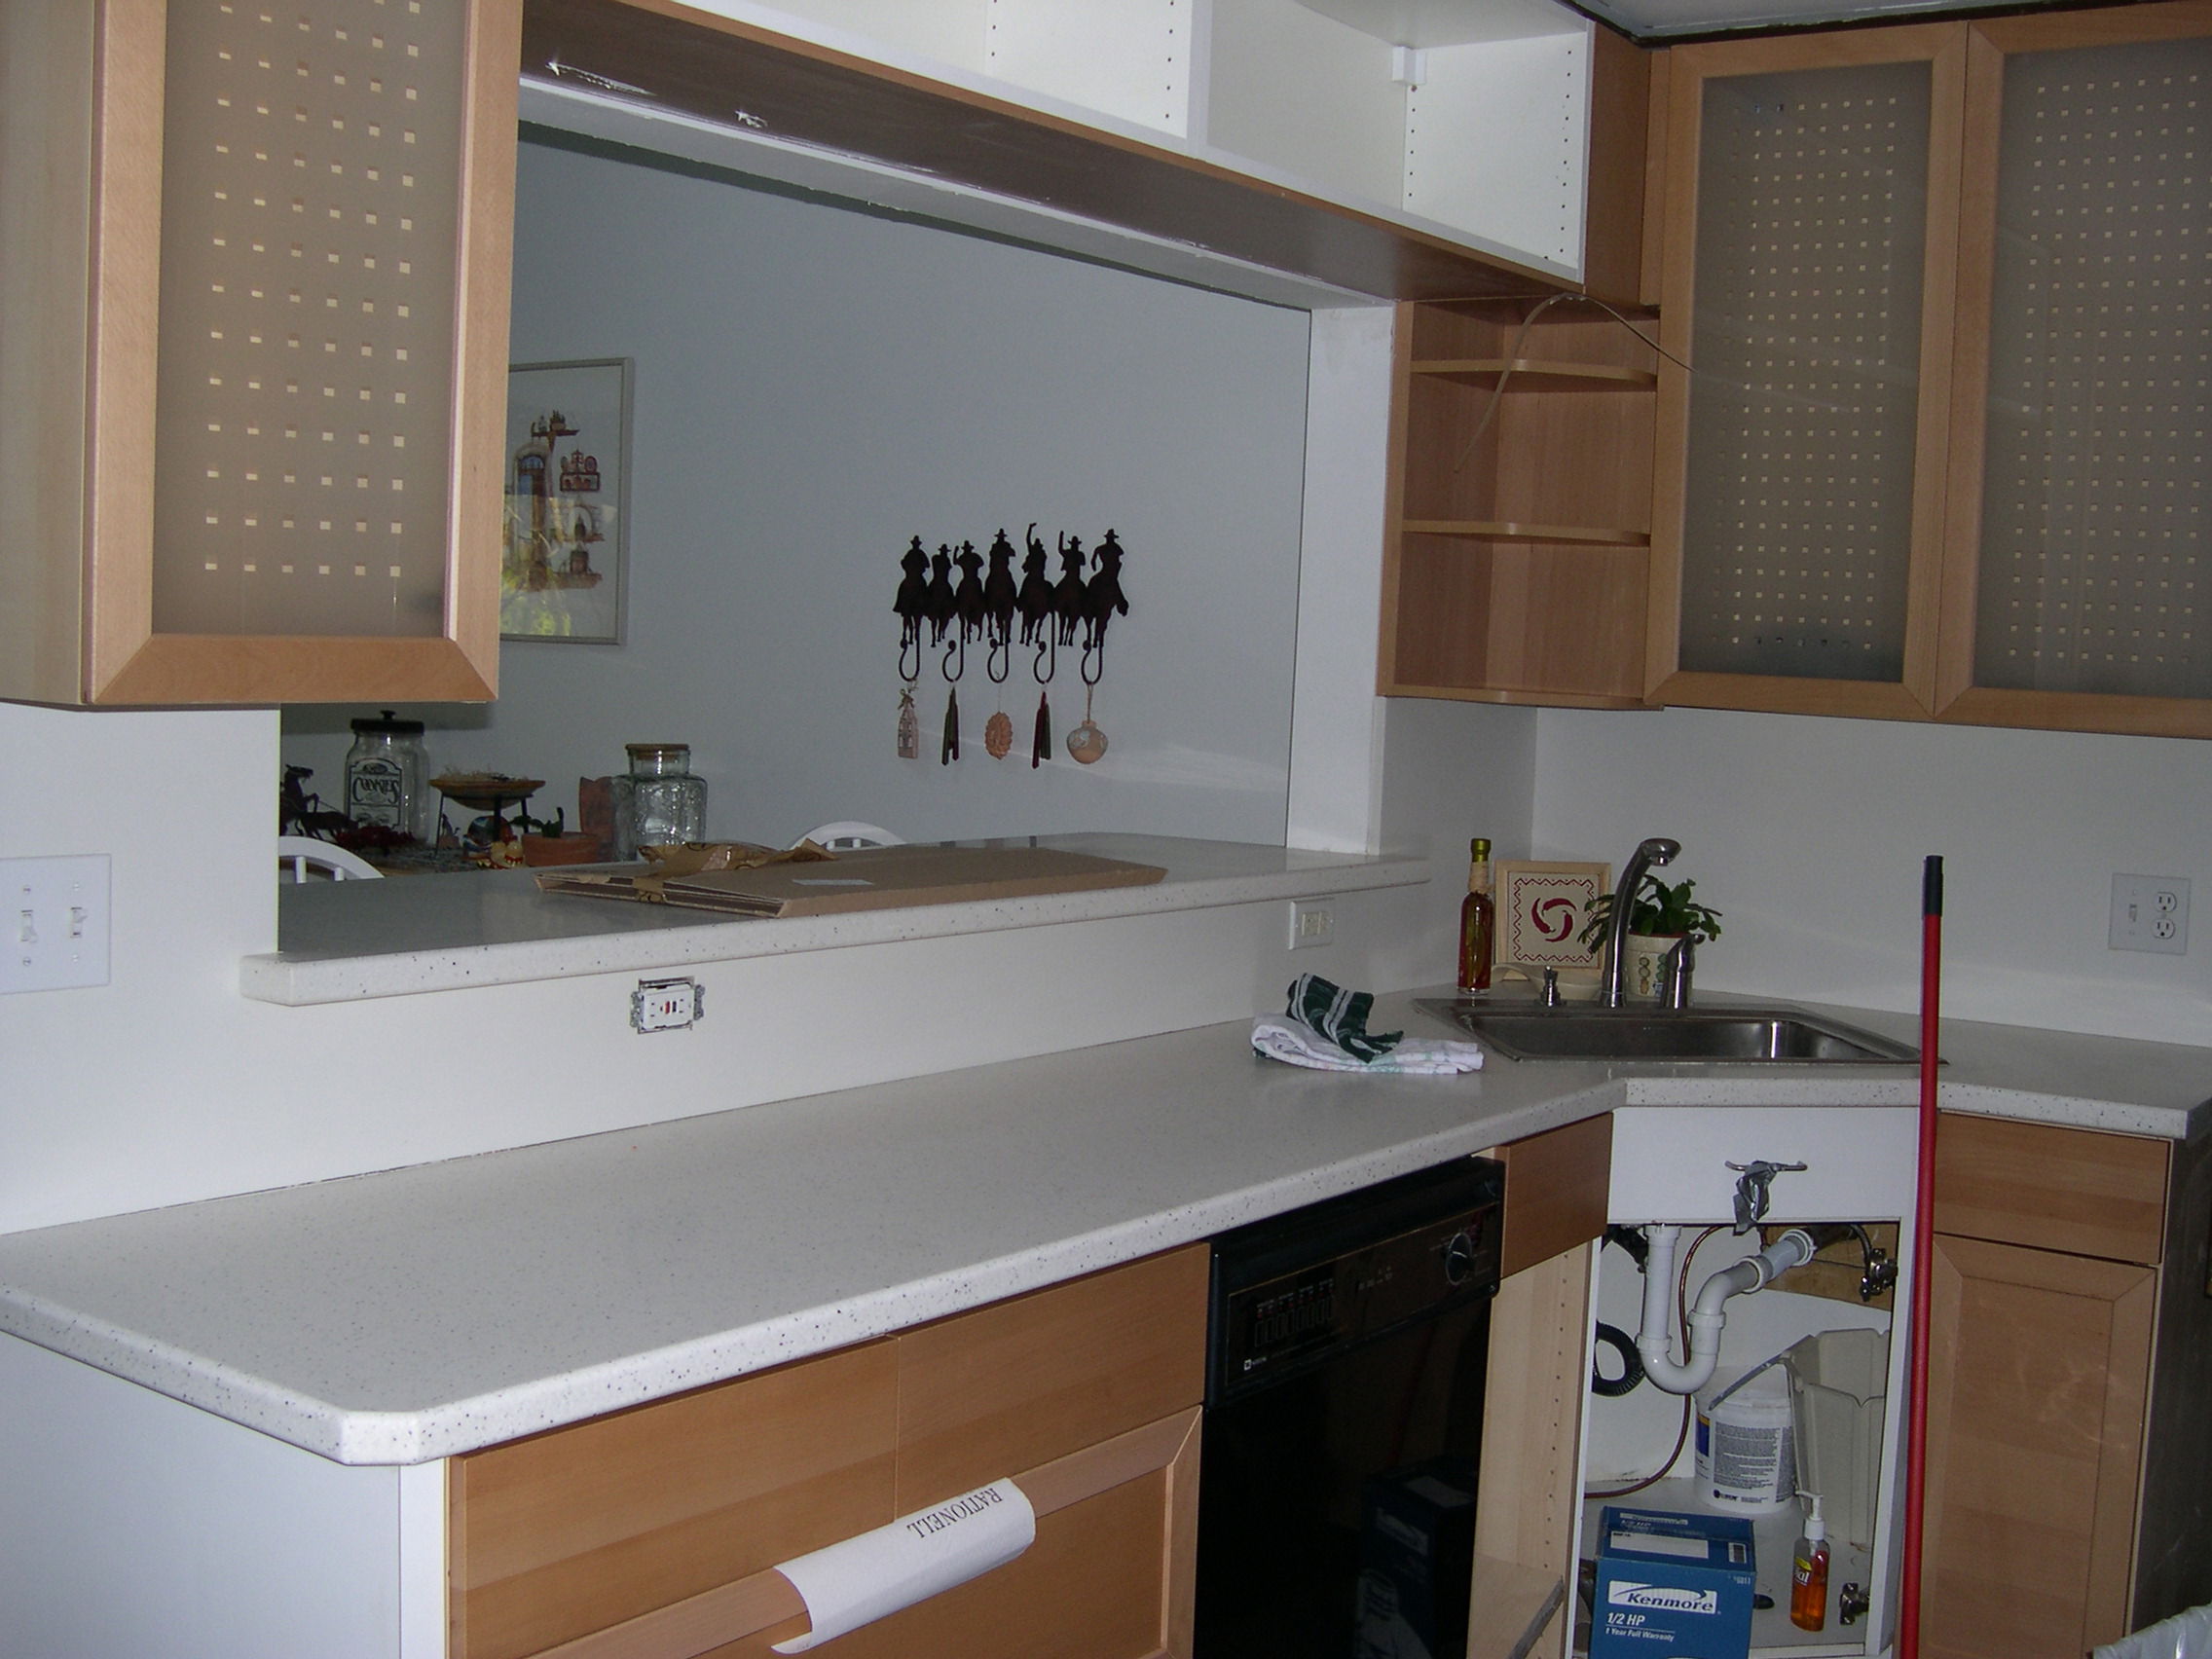
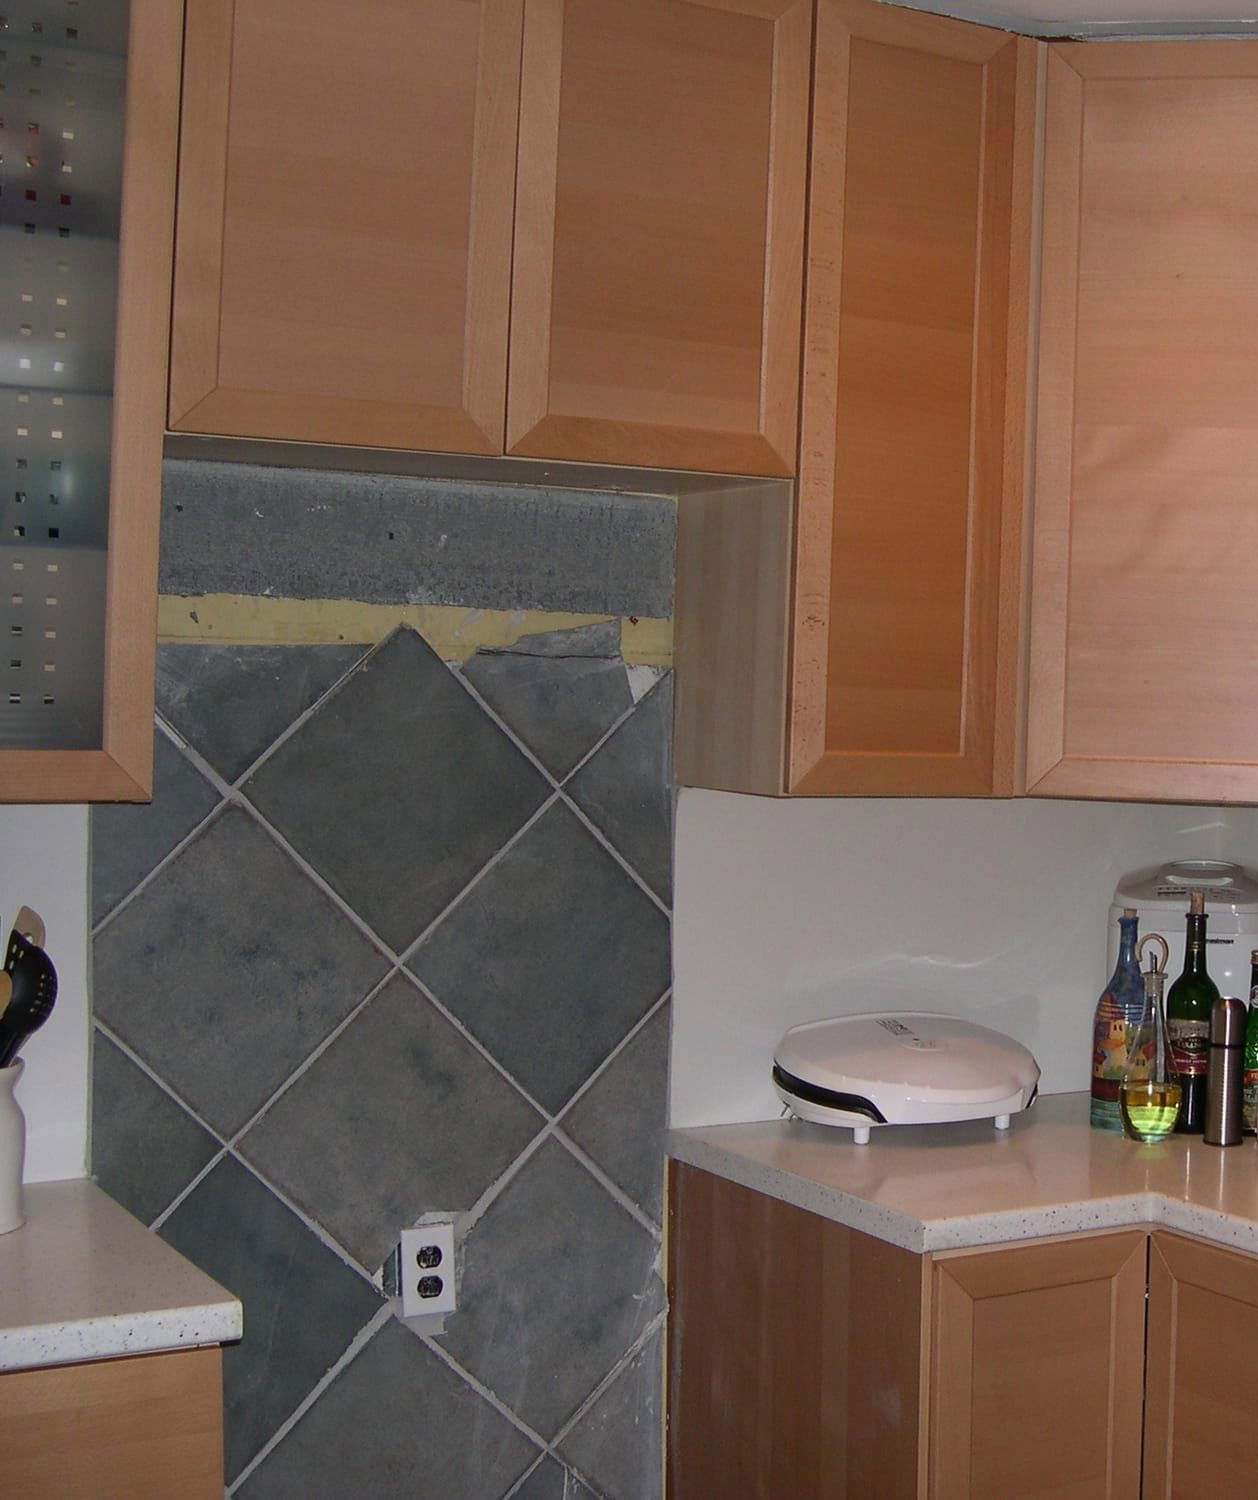
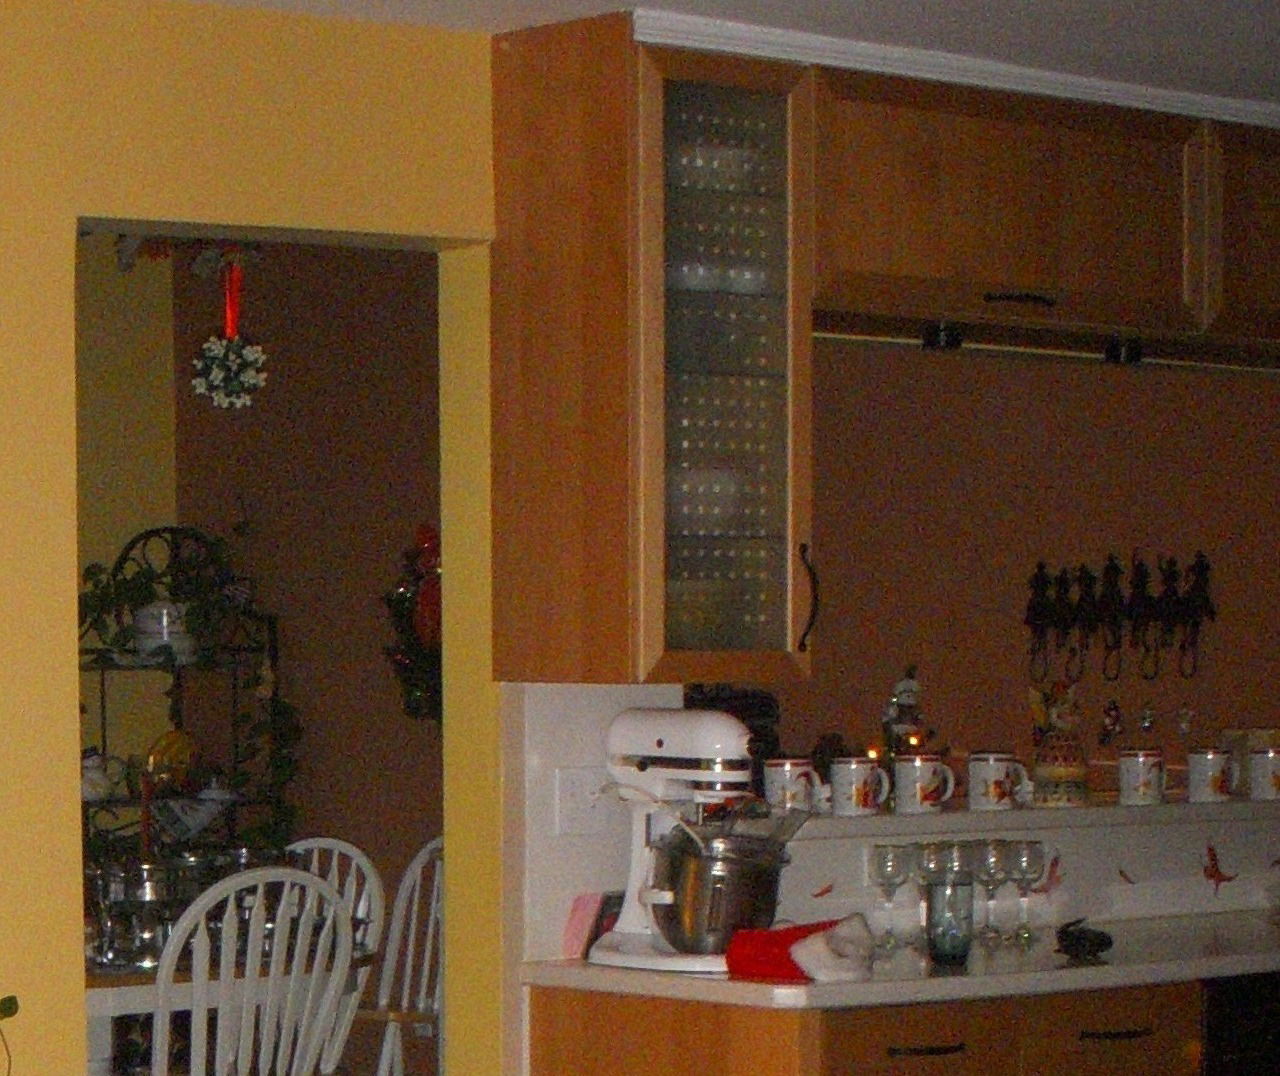
We went with warm, but modern looking Ikea upper and lower cabinetry, black pulls and black GE Profile appliances. We even incorporated the floor tile as the backdrop for the new range. OOH, and we brought some color into the eat-in area with paint!!
UPDATED KITCHEN CABINETS AND APPLIANCES (in various stages):
In 2016, we realized that we wanted to renovate the kitchen with better cabinetry. The Ikea products were starting to show wear and our tastes had changed. In addition, we needed more main floor storage and a larger cooking area.
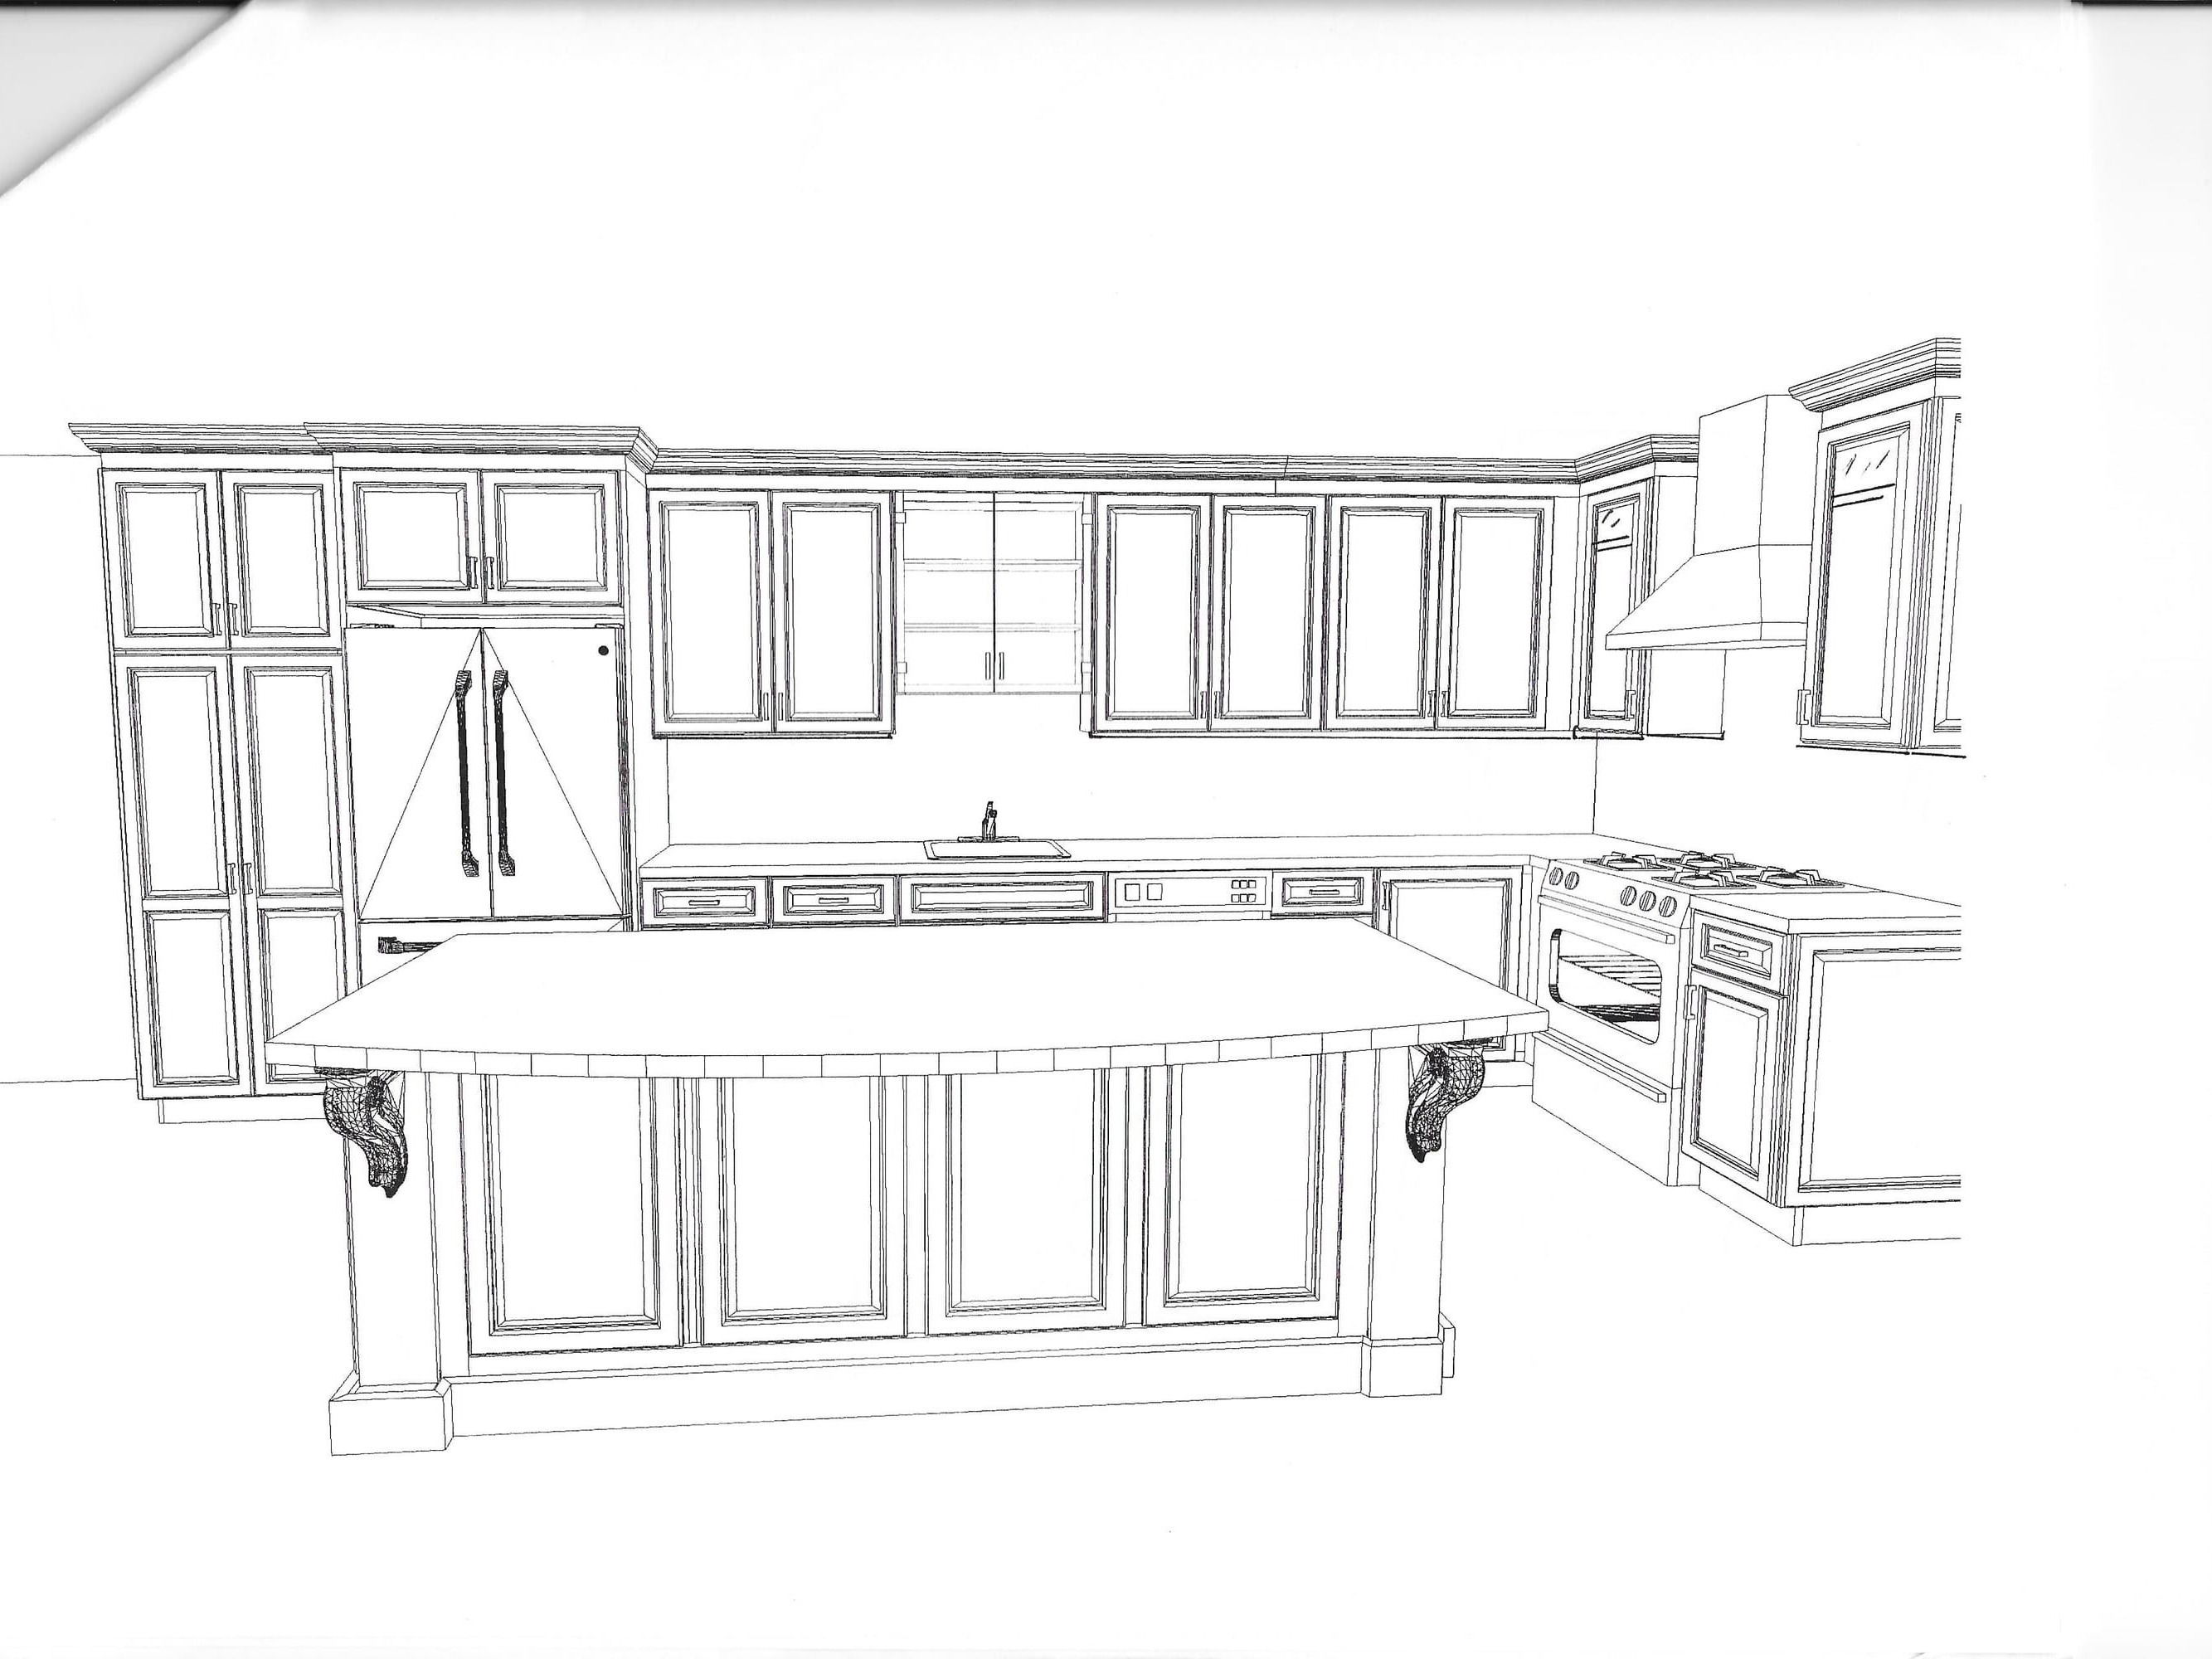
Radical Idea #3: Break through the load-bearing wall and create a large cohesive kitchen space that would still allow eat-in space, in addition to a pantry and large kitchen island.
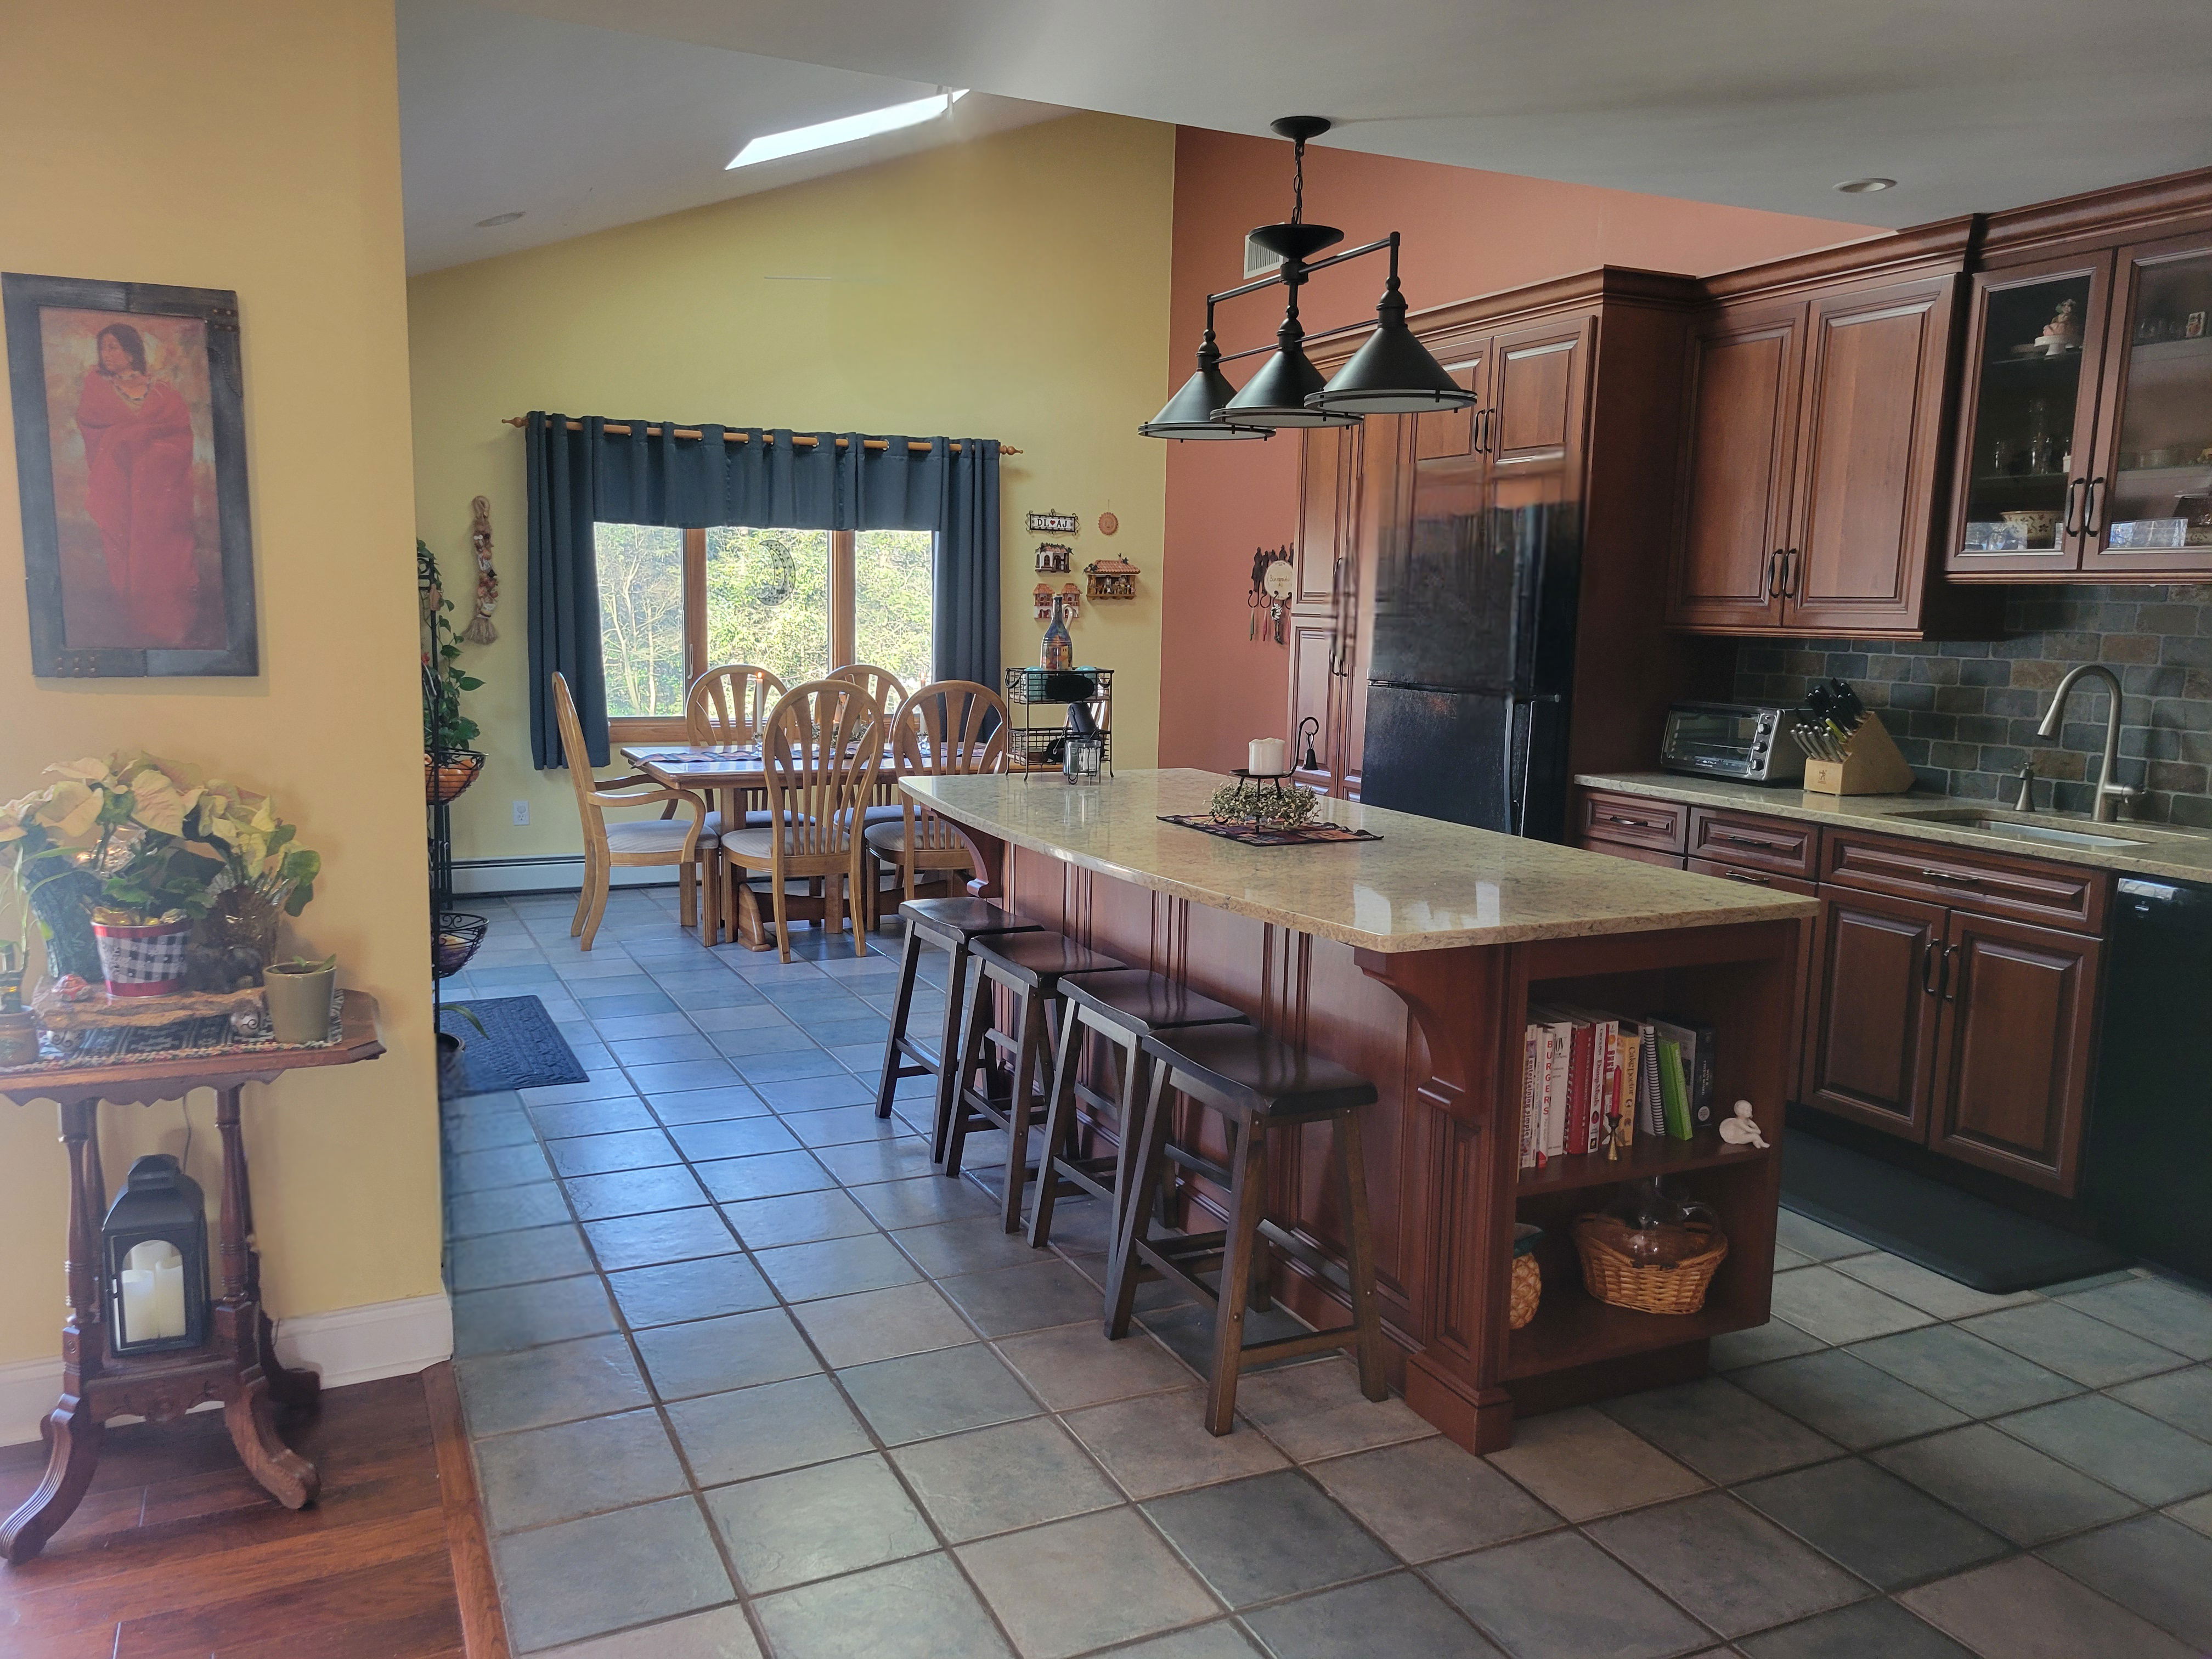
Result: We broke through the load-bearing wall and shared drawings of my vision with the kitchen designer, resulting in a beautiful space with a 90ft Island and double decker pantry (no more running to the basement for stored dry goods!).
I joked that I was swapping my Little Tikes kitchen for a grown-up kitchen. Not to stray from our typical frugality too far, we were able to piece in extra tiles that matched what was already down. We also chose not to replace the appliances. They were working just fine and I would have stuck with black, anyway. We did keep to a budget and really loved the cabinets, countertops and (real) backsplash tiles!
COMPLETELY RENOVATED KITCHEN:
I hope you enjoyed walking down memory lane with this kitchen transitions article. If nothing else, you got to see my decor transitions over the years.
Every change to our kitchen was built upon the last. Nothing was lost. We used each phase to the utmost and were very happy with our decisions. The message here is any home project should be done to bring you joy and reflect the life you’re living now. It takes patience and savings and flexibility… but it’s worth it!
Breaking it down:
Slow and steady wins the race. We always knew the kitchen we ultimately wanted. We also knew we had to prioritize many demands, such as the rest of the house and our lives. Having a vision and having excellent professionals supporting and refining that vision at each iteration was key. Did we have to be clever and flexible during these renovations? Yes. Did we argue and freak out at times? Yes. Did we recover and enjoy our accomplishments. ABSOLUTELY!
JOURNEY OF A KITCHEN:
What these makeovers were NOT:
- They were NOT done without proper planning. Budgeting, temporary relocation of cooking and eating setups, and choosing the appropriate contractors were all considered in advance.
- They were NOT easy-peasy with kids. We had to stay on top of their whereabouts through the first two changes when they were younger. For the last renovation, when they were teens, we were treated to their input.
What these makeovers WERE:
- They WERE dreams come true at each stage.
- They WERE changes that kept our home functional and updated and cared for.
- They WERE a true REflection of our “home sweet home” visions.
Your Feedback Matters!
Have questions about this REfresh? Have comments or suggestions? Want to start working on your own space with Laura? Please reply in the comment section below. Also, thinking beyond the REdecorate With Laura business moniker, take note I am also a certified professional organizer. Think: organizing your files, your kitchen cabinets, your closets, your garage, and so on. Sometimes, just putting things away and in order is all it takes to gain some inner peace and breathing room! For more information, please reach out via the Contact link.
*Disclaimer: Laura Cruz does not currently stand to profit from, or is receiving any favors or income associated with, her company or product recommendations and/or associated links in this article.